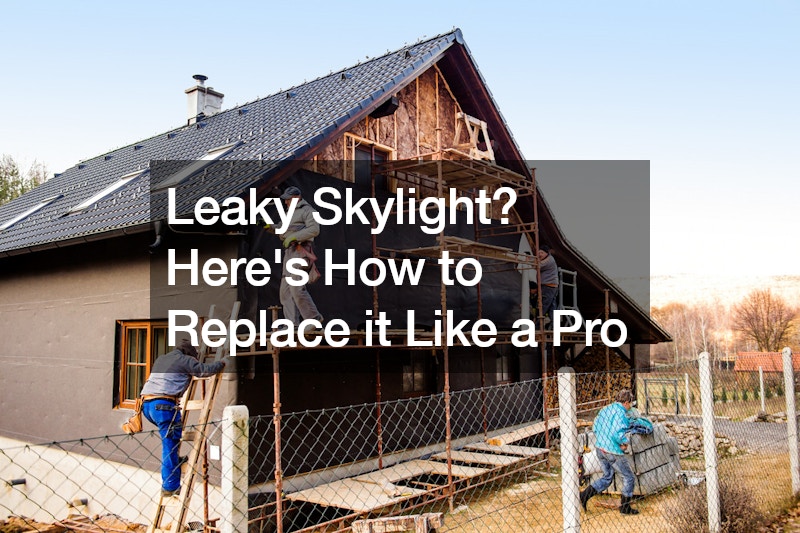
Leaky Skylight? Here’s How to Replace it Like a Pro
If you’ve noticed water stains on your ceiling or peeling paint around your skylight, it’s likely time for a replacement. A leaky skylight can cause damage to your home and create a headache for you. But fear not! With the right tools and know-how, you can replace your skylight like a pro and enjoy a leak-free home once again.
Identifying the Problem
The first step in replacing a leaky skylight is identifying the problem. Look for signs of water damage, such as stains on the ceiling or peeling paint around the skylight.
If the glass is foggy or there are visible signs of water getting through the trim, it’s time for a replacement.
Preparation is Key
Before you begin the replacement process, gather all the necessary tools and materials. You’ll need a roof ladder, harnesses, planks, shingles, flashing, and a new skylight unit. Make sure to wear appropriate safety gear, including gloves and goggles, to protect yourself during the installation.
Removing the Old Skylight
Start by removing the shingles around the old skylight. Carefully pry up the nails and save the shingles for later use. Once the shingles are removed, carefully lift out the old skylight unit. Take note of any damage to the surrounding area, as you may need to make repairs before installing the new skylight.
Choosing the Right Replacement
When choosing a replacement skylight, consider the size and type of your existing skylight. If you have a dome rooflight, make sure to select a replacement that is compatible with your roof’s design. Additionally, opt for a fixed unit to prevent future issues with opening and closing mechanisms.
Preparing the New Skylight
Before installing the new skylight, it’s essential to trim the inside to fit the old rough opening. This ensures a snug fit and prevents water from seeping in around the edges. Use tapered rabbet pieces to create a tight seal and build off of these with filler and trim to match the old opening.
Flashing and Installation
Once the new skylight is prepared, it’s time to install it. Begin by flashing along the bottom of the opening with self-sealing membrane, ensuring it overlaps the shingles below. Carefully place the skylight into the opening, making sure it fits snugly. Nail the skylight into place and apply additional flashing around the edges to create a watertight seal.
Finishing Touches
With the skylight installed, it’s time to replace the shingles and add the finishing touches. Nail the shingles back into place, being careful to avoid damaging the flashing. Apply caulk around the perimeter of the trim to seal any gaps and prevent water intrusion.
Maintenance Tips
Once your new skylight, including dome rooflights, is installed, it’s essential to perform regular maintenance to ensure it stays leak-free. Keeping up with maintenance not only prolongs the lifespan of your skylight but also ensures the safety and integrity of your home.
Regular inspections are crucial for identifying any potential issues before they escalate into larger problems. Take the time to visually inspect your skylight, both from the inside and outside of your home, looking for signs of damage or wear and tear.
Pay close attention to the seals around the skylight, as these are often the first areas to show signs of deterioration. Look for any cracks or gaps in the seals and replace them promptly to prevent water from seeping into your home.
In addition to inspecting the seals, check the flashing around the skylight for any signs of damage or looseness. Loose flashing can allow water to infiltrate your roof, leading to leaks and water damage inside your home.
Regular cleaning is also essential for maintaining your skylight’s performance. Dirt, debris, and other particles can accumulate on the glass, inhibiting light transmission and causing water to pool around the skylight. Use a gentle cleaning solution and a soft cloth to remove any buildup, taking care not to scratch the glass or damage the seals.
Finally, ensure that your skylight’s drainage system is functioning correctly. Clear any debris from the drainage channels and ensure that water can flow freely away from the skylight. Clogged drainage channels can lead to water buildup around the skylight, increasing the risk of leaks and water damage.
Enjoy Your Leak-Free Home
With your new skylight installed, you can enjoy a leak-free home and all the benefits of natural light. Say goodbye to water stains and peeling paint and hello to a brighter, more comfortable living space. By following these simple steps, you can replace your leaky skylight like a pro and enjoy peace of mind for years to come.
.


