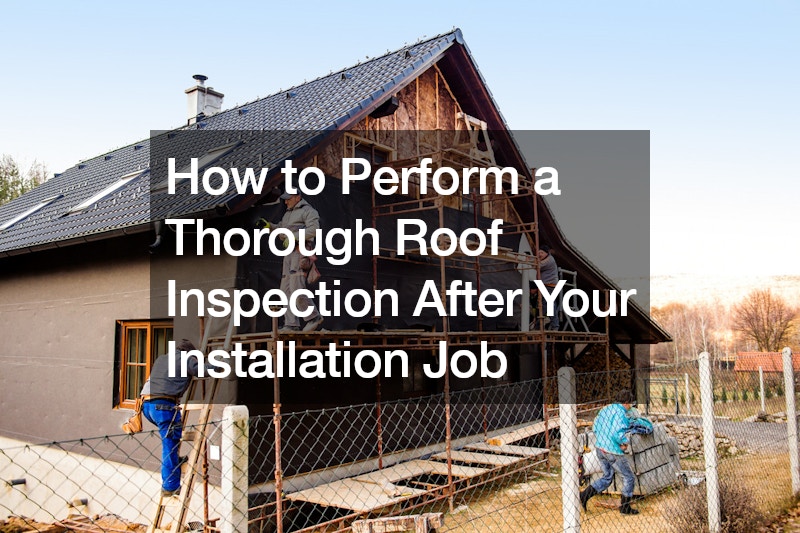
How to Perform a Thorough Roof Inspection After Your Installation Job
Introduction
1. Why is a Roof Inspection After Installation Important?
1.1 Ensuring Safety
One of the primary reasons to conduct a roof inspection after installation is to ensure the safety of everyone in the home. By identifying any potential issues early on, you can prevent accidents such as leaks, collapses, or other hazards.
Proper maintenance and inspection can help to keep your roof in top condition, protecting your family and belongings from harm.
Regular roof inspections after installation can help you catch any safety concerns before they become major problems.
1.2 Identifying Issues Early
Performing a roof inspection after installation allows you to identify any potential issues early on, before they escalate into costly repairs or replacements.
Early detection of issues such as leaks, damaged shingles, or improper flashing can help you address the problem promptly and prevent further damage to your roof and home.
By catching problems early, you can save yourself time, money, and stress in the long run.

1.3 Warranty Compliance
Many roofing manufacturers require regular inspections to maintain the validity of your warranty. By performing a roof inspection after installation, you can ensure that you are complying with the terms of your warranty.
Failing to conduct inspections may void your warranty, leaving you responsible for any repairs or replacements out of pocket.
Don’t risk losing out on warranty coverage – schedule regular roof inspections to protect your investment.
1.4 Protecting Your Investment
Your roof is a significant investment in your home. Regular inspections after installation can help you protect this investment and prolong the lifespan of your roof.
By addressing any issues early on, you can prevent costly repairs or premature roof replacement.
Protecting your roof through regular inspections can help you maximize its lifespan and ensure the long-term value of your home.
1.5 Peace of Mind
Finally, conducting a roof inspection after installation can provide you with peace of mind knowing that your roof is in good condition.
By staying proactive and addressing any issues promptly, you can rest easy knowing that your roof is protecting your home and family as intended.
Don’t underestimate the value of peace of mind – schedule regular roof inspections to keep your home safe and secure.
2. When Should You Perform a Roof Inspection After Installation?
2.1 Immediately After Installation
It is crucial to perform a roof inspection immediately after installation to ensure that the job was completed correctly and that there are no immediate issues that need to be addressed.
This initial inspection can help you catch any problems early on and address them promptly with your installation contractor.
By conducting an inspection right after installation, you can set a strong foundation for future inspections and maintenance.
2.2 Annually
After the initial inspection, it is recommended to schedule annual roof inspections to keep your roof in top condition and address any issues before they escalate.
An annual inspection can help you stay proactive with your roof maintenance and prevent costly repairs down the line.
Regular roof inspections can help you extend the lifespan of your roof and protect your home for years to come.

2.3 After Severe Weather Events
Severe weather events such as storms, hurricanes, or heavy snowfall can take a toll on your roof. After such events, it is important to conduct a thorough roof inspection to check for any damage.
Even if your roof appears to be intact, there may be hidden damage that can lead to problems in the future. Conducting an inspection after severe weather can help you catch issues early and address them promptly.
Don’t wait for problems to escalate – schedule a roof inspection after severe weather events to protect your home and family.
2.4 Before Selling Your Home
If you are planning to sell your home, a roof inspection is essential to ensure that your roof is in good condition and attractive to potential buyers.
An inspection can help you identify any issues that may arise during a home inspection and address them proactively.
A well-maintained roof can add value to your home and make it more appealing to buyers, so don’t skip the inspection before listing your property.
2.5 Before Performing Roof Maintenance
Before starting any roof maintenance projects such as cleaning gutters or repairing flashing, it is important to conduct a thorough roof inspection.
An inspection can help you identify any existing issues that need to be addressed before starting maintenance tasks, preventing further damage to your roof.
By inspecting your roof before maintenance, you can ensure that your efforts are effective and that your roof remains in top condition.
3. What Should You Look for During a Roof Inspection?
3.1 Signs of Leaks or Water Damage
One of the primary things to look for during a roof inspection is signs of leaks or water damage. Water stains on ceilings, mold growth, or damp spots in the attic are all indicators of potential leaks that need to be addressed.
If you notice any signs of water damage, it is crucial to address the issue promptly to prevent further damage to your roof and home.
Regularly checking for leaks can help you catch problems early and prevent costly repairs down the line.
3.2 Missing, Damaged, or Curling Shingles
Inspecting the condition of your shingles is another key component of a roof inspection. Look for missing, damaged, or curling shingles, as these can indicate underlying issues such as poor installation, aging, or weather damage.
If you notice any issues with your shingles, it is important to address them promptly to prevent leaks and further damage to your roof.
Replacing damaged shingles can help you maintain the integrity of your roof and prolong its lifespan.
3.3 Cracks or Blisters in Flat Roofing Materials
If you have a flat roof, be sure to inspect the surface for any cracks, blisters, or bubbles in the roofing materials. These issues can indicate water damage or improper installation that needs to be addressed.
Flat roofs are susceptible to water pooling, so it is important to catch any damage early to prevent leaks and structural issues.
Regularly inspecting your flat roof can help you identify and address issues before they escalate into costly repairs.
3.4 Rot or Mold Growth
Rot or mold growth on your roof can be a sign of underlying moisture issues that need to be addressed promptly. Inspect your roof for any signs of rot, decay, or mold growth, especially in areas with poor ventilation or drainage.
If you notice any signs of rot or mold, it is important to address the issue immediately to prevent further damage to your roof and home.
Regularly checking for rot or mold can help you maintain a healthy roof and protect your family from potential health risks.
3.5 Proper Flashing Installation
Flashing is a crucial component of your roof that helps to seal joints and prevent water intrusion. During a roof inspection, be sure to check for properly installed flashing around chimneys, skylights, vents, and other openings in your roof.
If you notice any loose, damaged, or missing flashing, it is important to repair or replace it to prevent leaks and water damage.
Properly installed flashing is essential for the integrity of your roof, so be sure to inspect it regularly and address any issues promptly.
4. How Can You Perform a DIY Roof Inspection After Installation?
4.1 Use a Ladder Safely

When conducting a roof inspection, it is important to use a ladder safely to access your roof. Make sure the ladder is stable and secure before climbing, and always have a spotter on the ground for added safety.
Inspect your roof from all angles to ensure you catch any issues that may be present. If you are uncomfortable with heights, consider hiring a professional for the residential roofing inspection.
By using a ladder safely, you can conduct a thorough roof inspection and address any issues promptly to protect your home and family.
4.2 Inspect Your Attic
Checking your attic for signs of leaks, water damage, or mold growth is an important part of a DIY roof inspection. Use a flashlight to inspect the ceiling and walls for any discoloration, dampness, or mold.
If you notice any signs of water intrusion, it is important to address the issue promptly to prevent further damage to your roof and home.
Regularly inspecting your attic can help you catch roof issues early and protect your home from costly repairs.
4.3 Check for Loose or Damaged Flashing
During your DIY roof inspection, be sure to check for loose, damaged, or missing flashing around chimneys, skylights, vents, and other openings. Properly installed flashing is essential for preventing water intrusion and leaks.
If you notice any issues with your flashing, it is important to repair or replace it promptly to protect your roof and home from water damage.
Regularly checking your flashing can help you maintain the integrity of your roof and prevent costly repairs down the line.

4.4 Examine Gutters and Downspouts
Inspecting your gutters and downspouts is an important part of a DIY roof inspection. Clogged gutters can prevent proper drainage and lead to water damage on your roof and home.
Clear any debris or blockages from your gutters and downspouts to ensure that water can flow freely away from your roof. Regularly cleaning your gutters can help you prevent water damage and avoid costly repairs.
By examining your gutters and downspouts, you can protect your roof and home from water damage and prolong the lifespan of your roof.
4.5 Take Note of Any Changes in Your Energy Bills
Monitoring changes in your energy bills can also help you identify potential issues with your roof. If you notice a sudden increase in your energy costs, it could be a sign of poor insulation or ventilation in your roof.
Addressing any energy efficiency issues can help you reduce your energy bills and improve the comfort of your home. Consider scheduling a professional energy audit to pinpoint areas of improvement after your residential re-roofing.
By staying alert to changes in your energy bills, you can catch roof issues early and address them promptly to protect your home and finances.
5. What Tools Do You Need for a Roof Inspection After Installation?
5.1 Ladder
A stable ladder is essential for accessing your roof safely and conducting a thorough inspection. Make sure your ladder is in good condition and securely positioned before climbing.
6. Conclusion
Regular roof inspections after installation are essential for maintaining the integrity of your slate, shingle, or metal roof, protecting your home, and prolonging the lifespan of your investment. By conducting thorough inspections, you can catch any issues early and address them promptly to prevent costly repairs or roof replacement services. Whether you choose to perform a DIY inspection or hire a professional, don’t skimp on this important maintenance task – your roof and home will thank you for it.
Before you DIY your own post-installation roof inspection, it pays to do ample research online. Learn some of the best practices for metal, shingle, and slate roofing in your locality, taking note of subtle safety details to protect yourself. If you have physical limitations that prevent you from being able to access your roof, be sure to leave your project in the hands of qualified roofers.
To find local roofing services in your area, be sure to go online and look at past reviews and testimonials. Look for contractors who feature a prominent gallery of their past work. Additionally, make sure that your chosen company has the credentials and experience that you need for your unique roofing materials. It’s important that your chosen roofing contractors also are licensed, bonded, and insured so that you can have peace of mind during your installation or inspection job.
All in all, it may seem counterproductive to have to do a roof inspection right after a roof replacement, but it pays to be 100% sure that your local metal roofers did an excellent job. Any issues you see may be easily refunded and fixed before they grow into something larger.